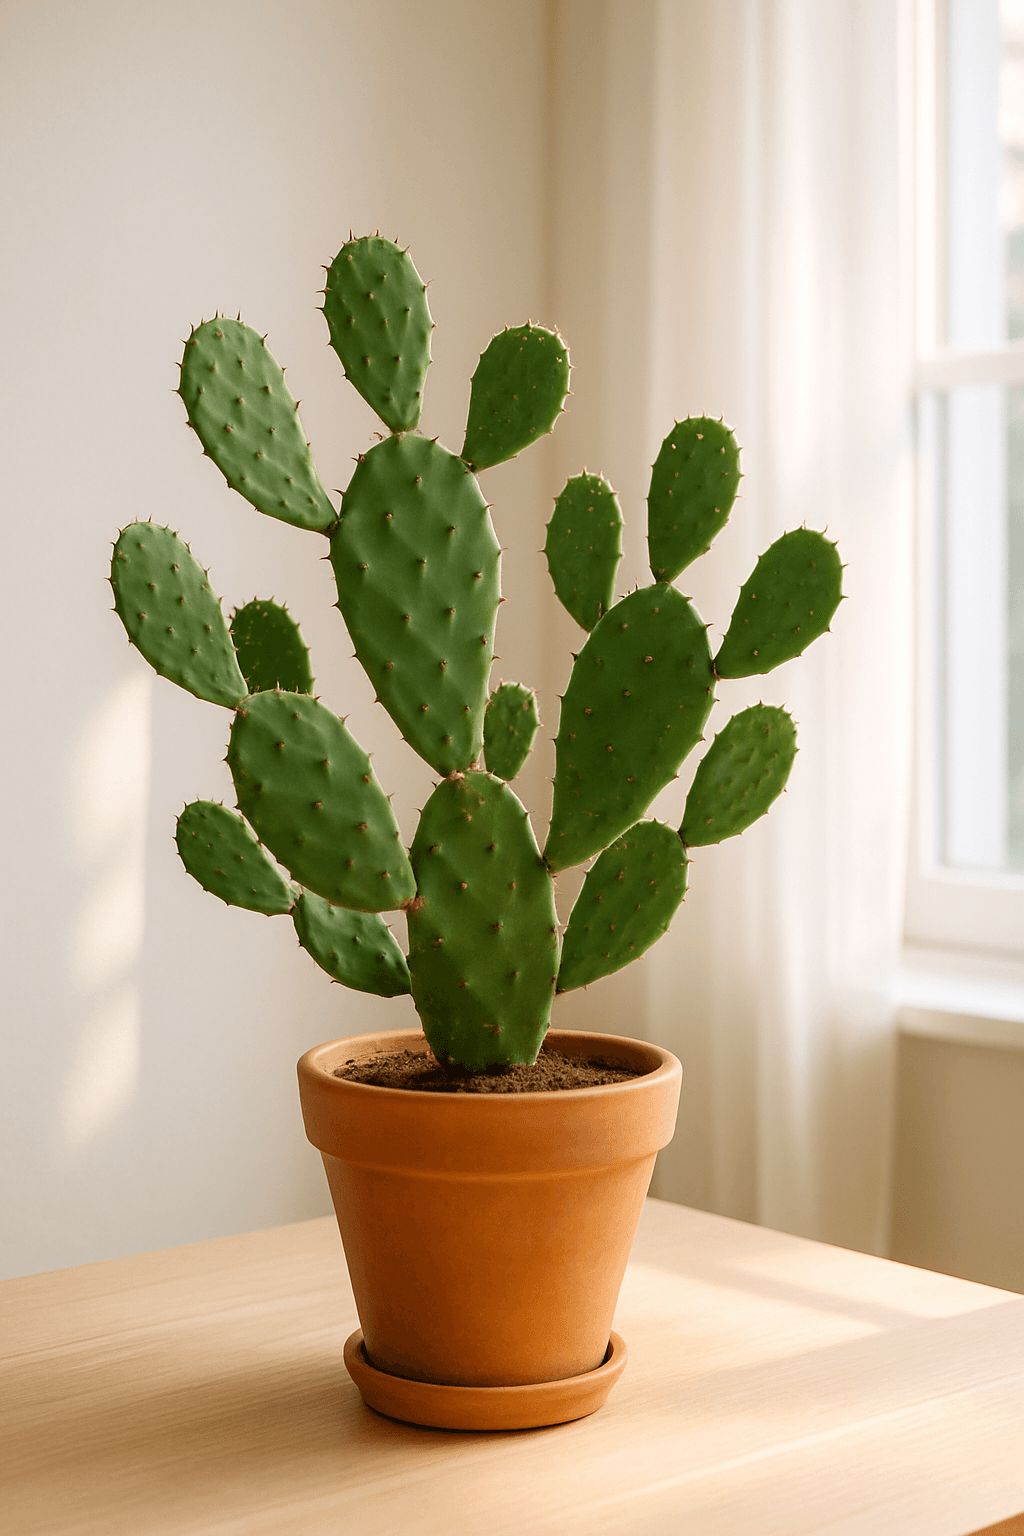
Prickly Pear Cactus Care Guide
Opuntia ficus-indica (and spp.)
Quick Answer
The most common mistake with Prickly Pear Cactus is overwatering — it stores water and handles drought far better than soggy soil. Let the soil dry out completely between waterings and when in doubt, wait another few days. Plant it in fast-draining mix (a cactus or succulent blend) and a pot with good drainage to give yourself a margin for error.
⭐Difficulty
Easy
☀️Light
Full sun to bright indirect
💧Watering
Every 2–3 weeks
🌫️Humidity
Low (20–40%)
🌡️Temperature
10–100°F
📈Growth Rate
Moderate
Toxicity
Source: ASPCA Animal Poison Control
Watering
Summer
Every 2–3 weeks
Winter
Every 4–8 weeks
Method: Deep watering then allow soil to dry completely; very drought tolerant; excellent drainage essential
In summer, aim to water prickly pear cactus approximately every 2–3 weeks; in winter cut back to around every 4–8 weeks. Rather than following a calendar, let the soil dry out completely — all the way to the bottom of the pot. Water thoroughly until water drains from the bottom, then don't water again until the soil passes the dryness check. Soft or mushy leaves signal overwatering; slight wrinkling or shrivelling means it's time to water.
Light Requirements
Full sun to bright indirect
Prickly Pear Cactus does best in a south- or west-facing windowsill where it gets at least 2–4 hours of direct sun. Without direct light, Prickly Pear Cactus stretches toward the light source, loses its compact shape, and colour or markings may fade.
Soil & Potting
Soil: Gritty cactus mix with added perlite; fast-draining essential
Pot: Terracotta with drainage; heavy to prevent tipping
Temperature & Humidity
Temperature: 10–100°F (-12–38°C)
Humidity: Low (20–40%)
Fertilizing
Frequency: Once or twice in spring/summer; skip winter
Type: Diluted cactus fertilizer
Common Problems
Shrivelled, thin pads
Shrivelled, thin pads: Underwatering. Water deeply and the pads should plump up. Catching the problem early makes it much easier to fix — watch for early warning signs and act before the plant is in serious distress.
Mushy pads
Mushy pads: Overwatering or rot. Remove affected pads; improve drainage. Check the roots: if they're dark, mushy, or smell off, root rot has set in. Unpot the plant, trim all affected roots with clean scissors, dust with cinnamon, and repot in fresh dry mix before resuming a cautious watering schedule.
White cottony spots (cochineal scale)
White cottony spots (cochineal scale): Wash off with strong water spray; treat with neem oil. Brown spots can mean cold water on leaves, direct sun damage, or the early stages of overwatering. Use room-temperature water, avoid wetting the leaves when watering, and make sure the plant isn't in direct harsh afternoon sun.
Glochids in skin
Glochids in skin: Remove with tweezers, tape, or rubber cement method. Do not rub. Catching the problem early makes it much easier to fix — watch for early warning signs and act before the plant is in serious distress.
Propagation
Prickly Pear Cactus is typically propagated by pad cuttings (callous cut end before planting), seeds. Work during the active growing season (spring or early summer) for the best success rate. Keep propagations warm, humid, and in bright indirect light while they establish. Resist tugging on them to test for roots — a gentle resistance when you lightly pull is enough to confirm they've taken.
Seasonal Care Calendar
🌸 Spring
Spring is when Prickly Pear Cactus starts actively pushing new growth as day length and light intensity increase. Increase watering frequency as the plant becomes more active, begin fertilising every 2–4 weeks with a balanced liquid fertiliser, and this is the ideal window for repotting or taking cuttings.
☀️ Summer
Summer is peak growing season — Prickly Pear Cactus is working hard and using water and nutrients faster than at other times of year. Water more frequently but check the soil rather than going on a fixed schedule, since heat and higher light accelerate drying. If you move it outdoors, introduce it to conditions gradually to prevent sun scorch.
🍂 Fall
As temperatures drop and light levels decrease in fall, begin tapering off watering. Prickly Pear Cactus will naturally slow its growth rate — this is normal. Stop fertilising by late October and avoid any unnecessary repotting before winter. Watch for flower buds developing around spring–summer — avoid repotting or relocating the plant at this time.
❄️ Winter
Winter is near-dormancy for Prickly Pear Cactus. Water only when the soil has been completely dry for at least a week, which may mean once a month or less. Hold off on fertilising entirely until spring. Don't panic if growth stops completely — this rest is essential for the plant's long-term health.